Editor’s Note: Our internet is abysmal these days and responsible for most of my late posting (the rest of the time, it’s totally the twins’ fault : )). I apologize and really wish I could fix it, but, alas, there are drawbacks to living in the boonies, even in 2012. Now, excuse me while I go put my head through a wall.
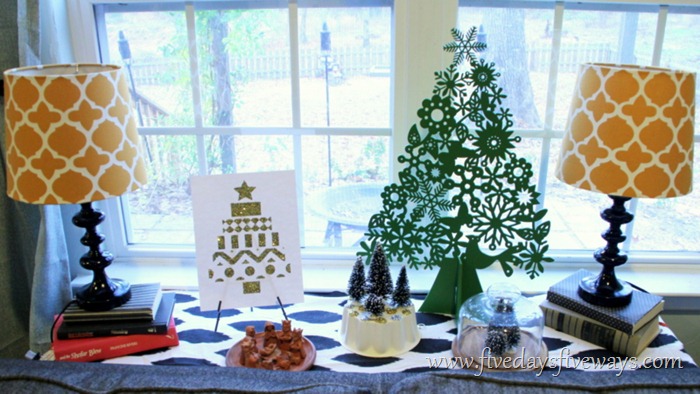
Of all the items in my Christmas sofa-scape, I’m actually most in love with the lamp shades.
Not very Christmassy of me, I realize, but I’m just sayin’.
And the next in line would be the wooden cutout tree, which I paid $6 for even though pieces of it want to snap off at the lightest touch of your baby finger. Nice and practical for a woman with 5 small children, right? But it’s so pretty!!!! (Imagine my doing the “IT’S SO FLUFFY!!!!” voice from Despicable Me, and you’ll know how I really feel about that darn falling-apart tree).
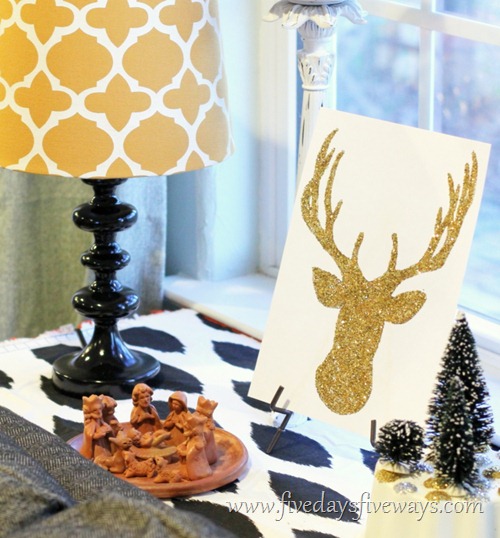
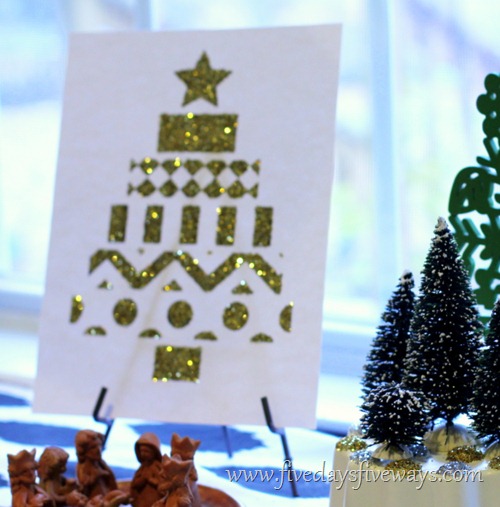
But I can’t deny that I’m also more than a little fond of my Christmas tree glitter art, which was fun and easy to make and adds a much-needed sparkle factor to the table (although, it does have a little help from Mount Glittermas).
So, how did I do it?
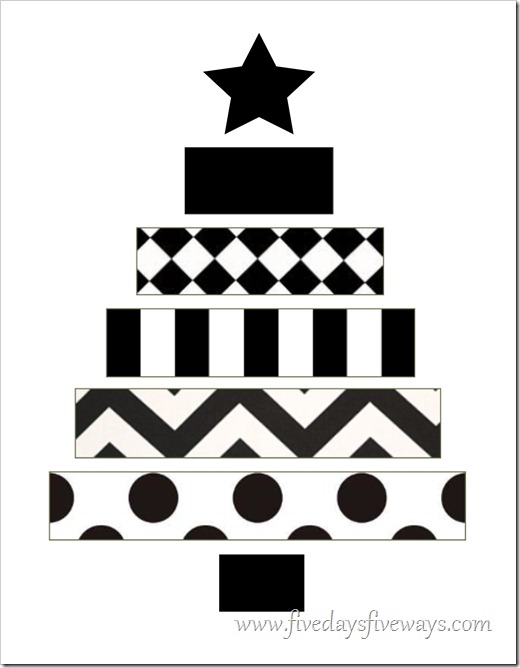
Well, I designed the template in black and white, and it ended up looking a little something like this:
And then, I printed it out on cardstock and did the following:
STEP 1::
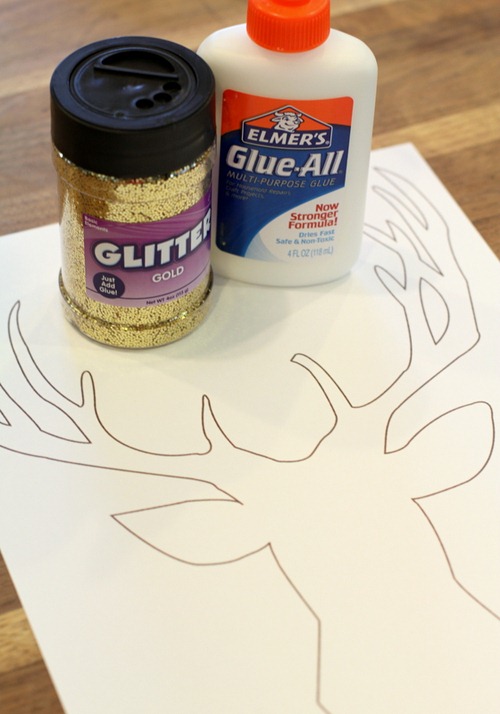
Gather supplies:
-
Printed template
-
Glitter in your color choice
-
Elmer’s glue
-
Small craft brush (not pictured
And yes, I know that’s not the Christmas tree template. I made a reindeer first.
STEP 2::
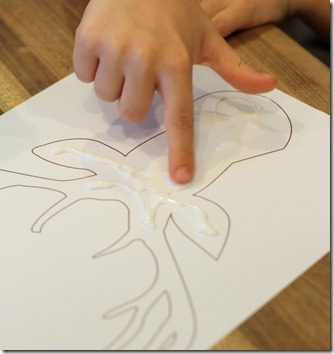
Enlist the help of a cute little blonde boy and his eager-to-get-at-that-glue fingers.
…and then when that doesn’t go so well because 6 1/2-year-old pointer fingers are not exactly instruments of precision, let him finish his own while you…
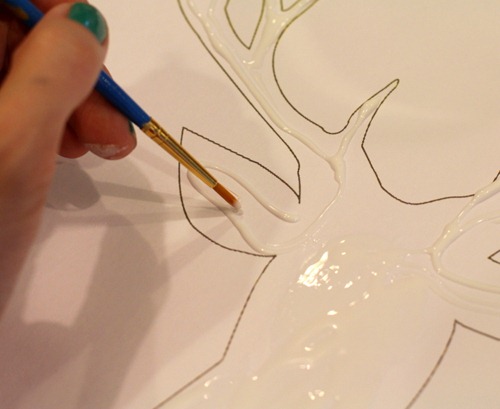
…carefully paint your glue over the silhouette of your template.
STEP 3::
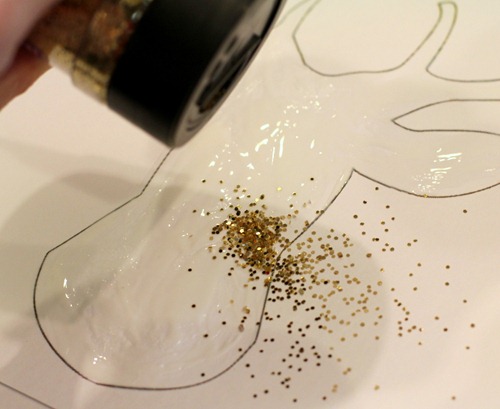
Sprinkle your glue-smeared template with glitter.
GENEROUSLY.
(If I squint, I see part of a headless, very flamboyant, eagle)
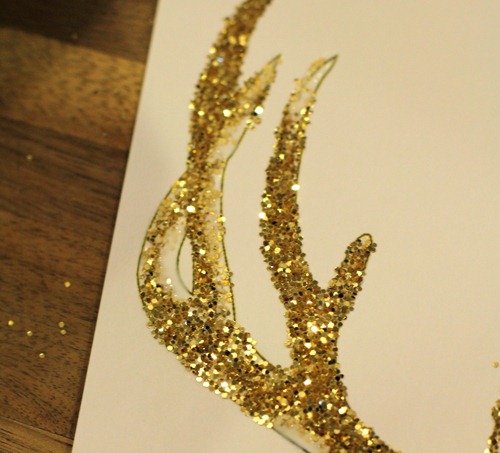
NOTE: You may have to touch up your glue and glitter in a few of the detail spots…
…but for the most part, one coat of glue and glitter will do it, and the results are remarkably crisp!
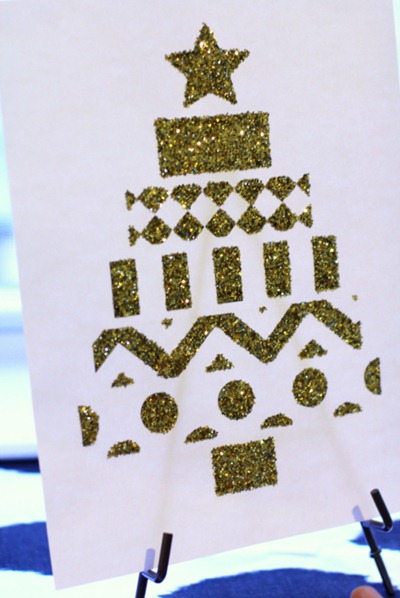
And here’s the actual Christmas tree version with all of the black sections glittered in.
If you want to try a tree of your own, you can save the image of the template below to your computer and then stretch it to size in Word or any other document. As long as you keep it approximately to scale, it won’t matter if the black portions become too pixelated since they’ll be covered with glitter anyway.
Happy glittering!



1, Where are those lamp shades from anyways? I also heart them, a ton.
2. Do you have a template for that reindeer? That’s the sort of Christmas decor my hunter of a husband loves. It brings my love of glitter and his love of hunted animals together perfectly :$
Thanks Abby – love your blog, FYI!
So cute! I have a glitter party going on right now and would love for you to link this up. Come take a look! https://tamicurbalert.blogspot.com/2012/11/50-ways-to-deck-halls-with-glitter-link.html
Tami @ Curb Alert!
Well, aren’t you crafty! I love it….and sooo easy! I love the festive Christmas tree, but the reindeer is just too cool 🙂 My boys would be about as precise. Maybe I could let them do a giant round ornament? LOL! Thx for the glitter inspiration!
Where did you get the template of the deer? I want to make one, but can’t find a printable. Thanks and I love your glitter art and your talented helper.
That reindeer looks like something someone would buy (not me – I like DIY). It’s gorgeous girl!
Cute idea. I’m going to try this. Thanks for sharing. 🙂
Wow, I’m impressed! Both of those projects are awesome AND classy! Love them!
Sheila in Oregon
Love it! Where did you get the reindeer silhouette?
Love this! For sure doing this with my kids!